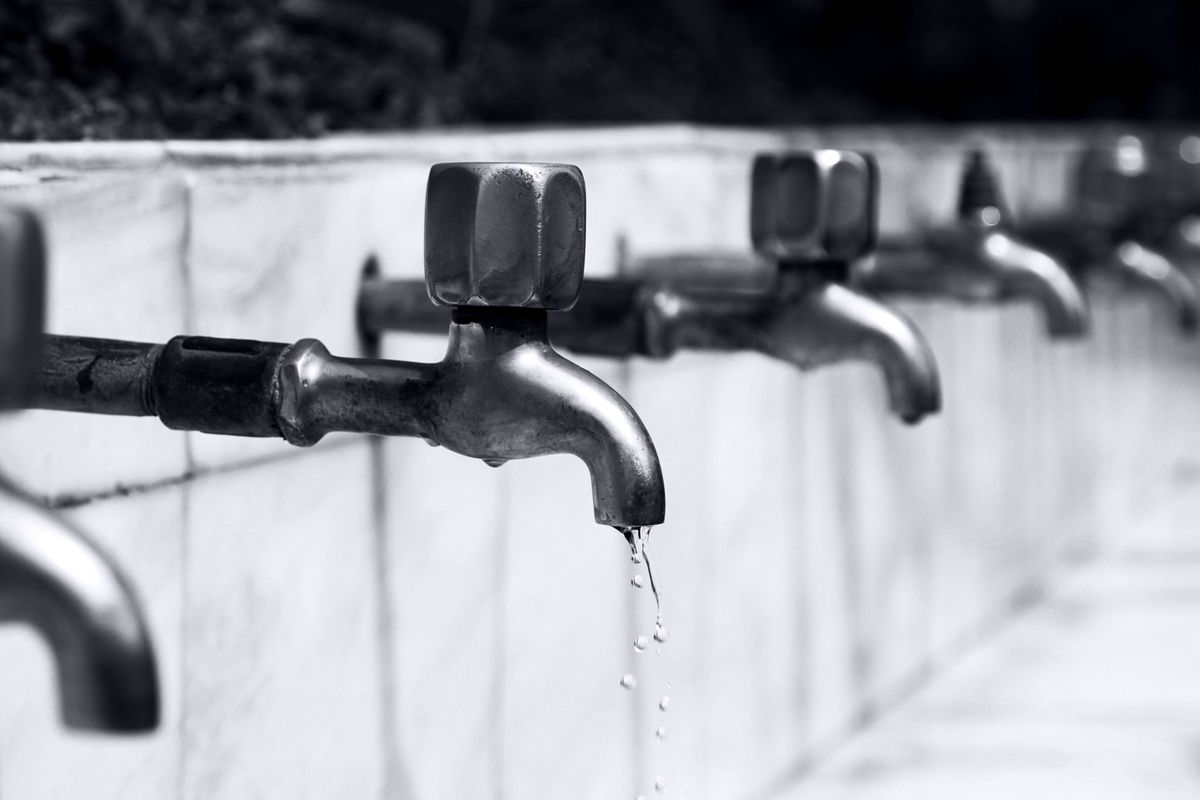
A dripping faucet wastes water and money, and the sound alone is enough to drive you crazy. The good news is that most drips come from a worn part that costs a few dollars. Here is how to fix a leaky faucet with basic tools in about an hour.
What You Will Need
- Adjustable wrench and pliers
- Screwdrivers (flathead and Phillips) and an Allen key set
- Replacement washer, O-ring, or cartridge for your faucet
- Plumber’s grease
- A towel and a small container for parts
Step 1: Identify Your Faucet Type
- Compression faucet: two handles that you twist to tighten. These use rubber washers that wear out.
- Cartridge faucet: one or two handles that move smoothly. Most single-handle faucets in U.S. homes use a cartridge.
- Ball faucet: a single handle on a rounded cap, common in older kitchens.
- Ceramic disc faucet: a single lever over a wide cylinder body.
If you know the brand, look up the model. Many manufacturers offer replacement parts and diagrams online.
Step 2: Turn Off the Water
Close the shut-off valves under the sink by turning them clockwise. Open the faucet to let the remaining water drain and to confirm the supply is off. Put a towel in the sink and close the drain so small parts cannot fall in.
Step 3: Remove the Handle
Pry off the decorative cap on the handle, remove the screw underneath, and pull the handle off. Some handles use a small set screw that needs an Allen key.
Step 4: Replace the Worn Part
Compression faucet: unscrew the packing nut and stem. Replace the rubber washer held by a screw at the bottom of the stem, and replace the O-ring on the stem.
Cartridge faucet: remove the retaining clip or nut, then pull the cartridge straight out. Take it to a hardware store to find an exact match, or order the part for your model.
Ball or ceramic disc faucet: these usually leak because of worn seals or springs. Replacement kits are available for most brands.
Put a light coat of plumber’s grease on new O-rings before installing them.
Step 5: Reassemble and Test
Reassemble the parts in reverse order. Turn the shut-off valves back on slowly, then run the faucet and check for drips at the spout and around the handle.
Tips for Success
- Lay parts out in order on a towel as you remove them, or take photos at each step.
- Do not overtighten fittings. Snug is enough.
- If water leaks from the base of the faucet, the problem may be an O-ring rather than a washer or cartridge.
When to Call a Plumber
Call a licensed plumber if the shut-off valves do not close completely, if pipes are corroded, or if the faucet body itself is cracked. In those cases, replacing the faucet may be the better fix.
For more small fixes you can do yourself, see our list of easy home repairs.
Leave a Reply